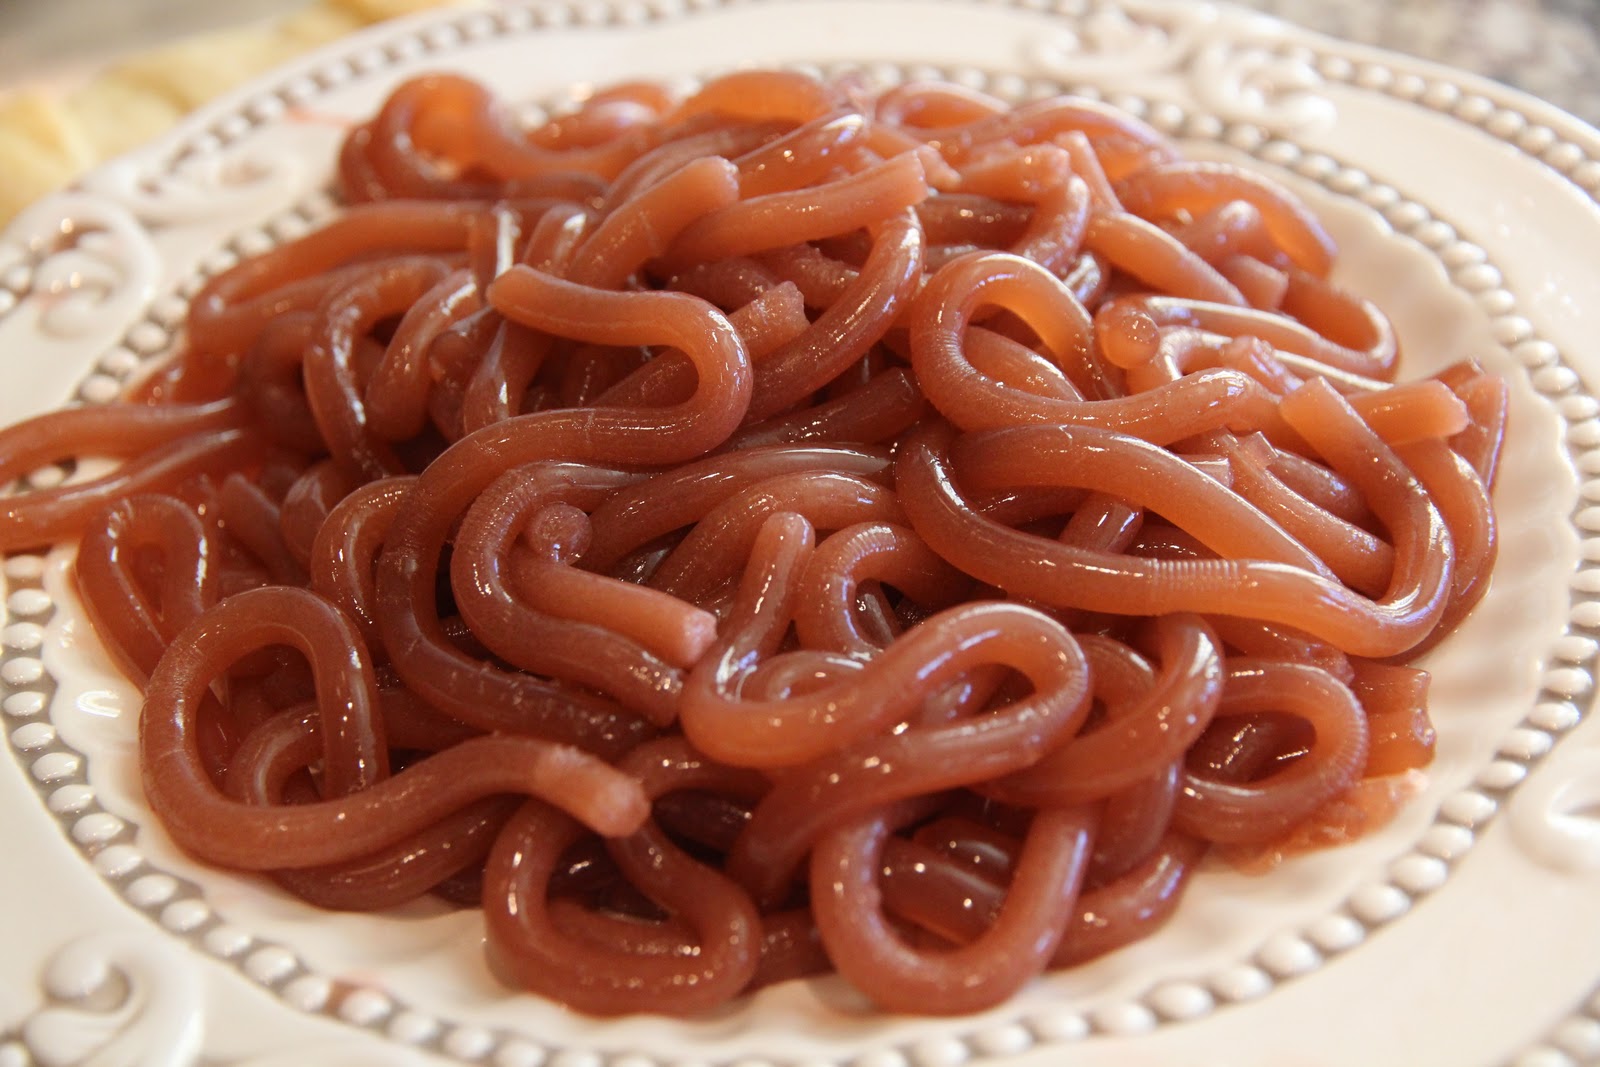
I'm the first to admit that Halloween isn't my favorite holiday. BUT...our jello worms did turn out amazing. The idea came from
Divine Dinner Party, which I found via
Pinterest.
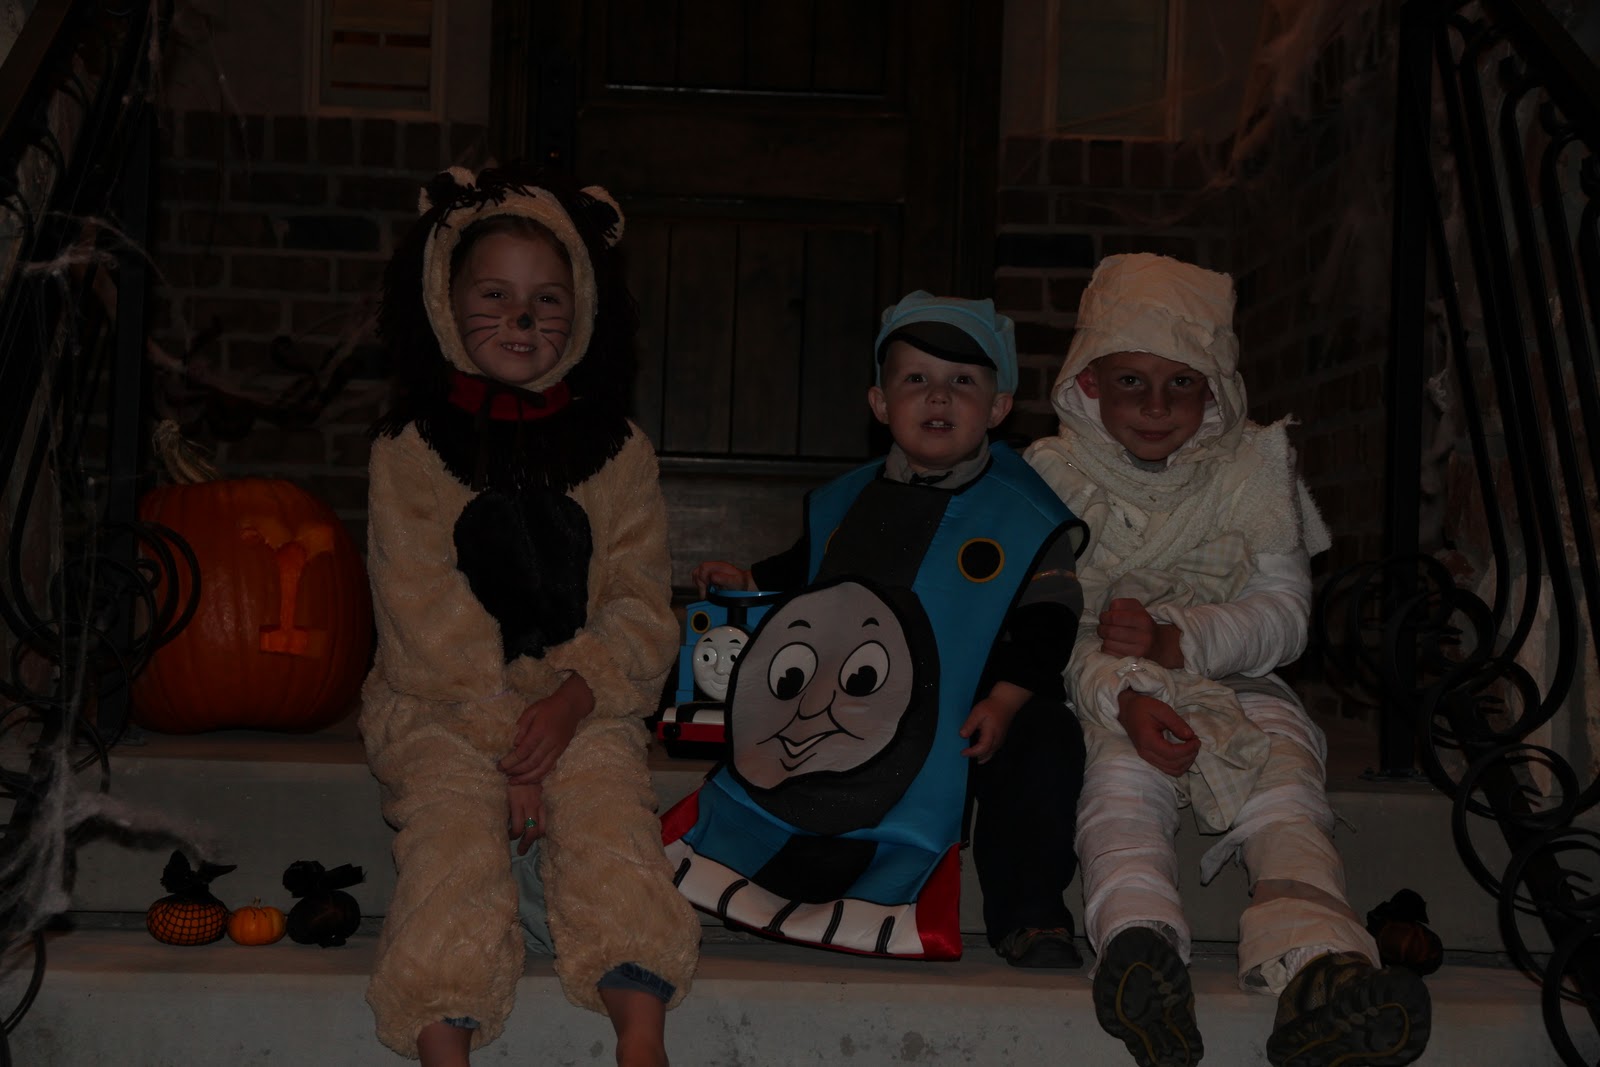
Daddy took the kids Trick-or-Treating, while I handed out candy to a fairly small trickle of little neighbors. I opened a huge, Costco-sized bag of chocolate bars just in time for the very last Trick-or-Treater. So, the next day, let's just say, I was less-than-thrilled by the sugar overload around here.
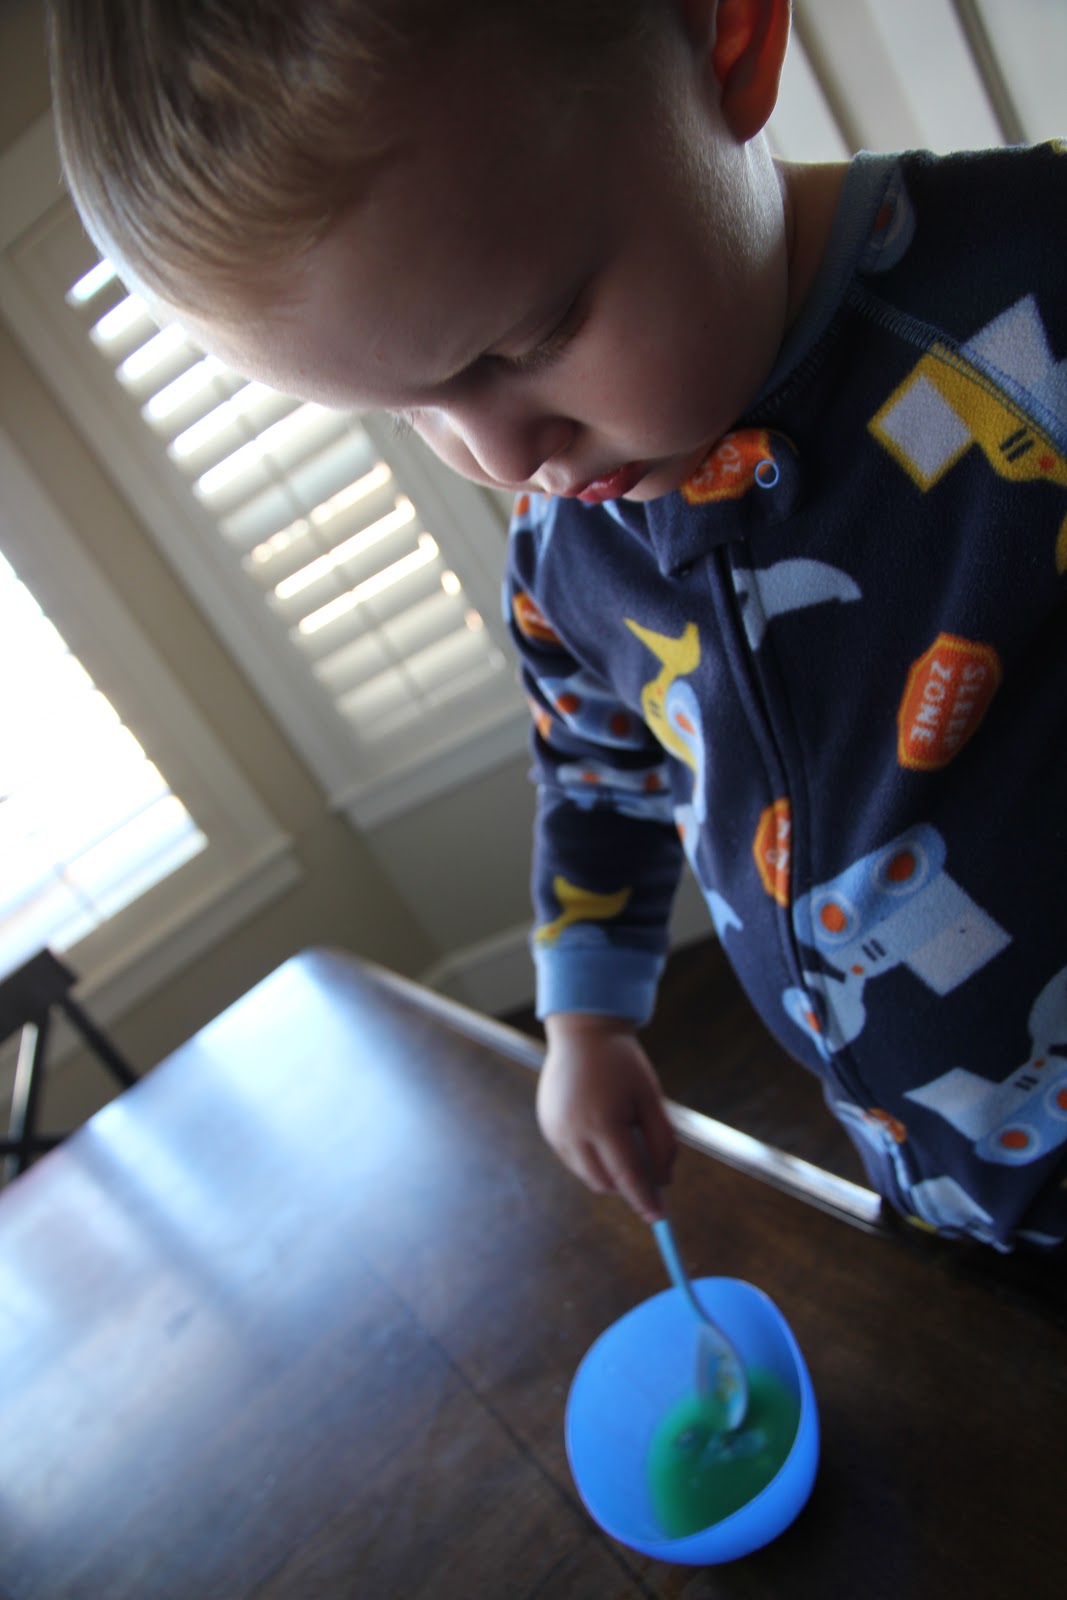
So today, for our morning Mini-Lesson, we did some
Candy Experiments. (I'm pleased to announce that we got rid of quite a lot of candy before the kids realized what I was really up to.)
For this first one, you simply put M&Ms or Skittles (the more, the merrier) letter-side up in a bowl of water. Can you see the floating Ms in there? It takes a few minutes for them to separate, but it's very cool.
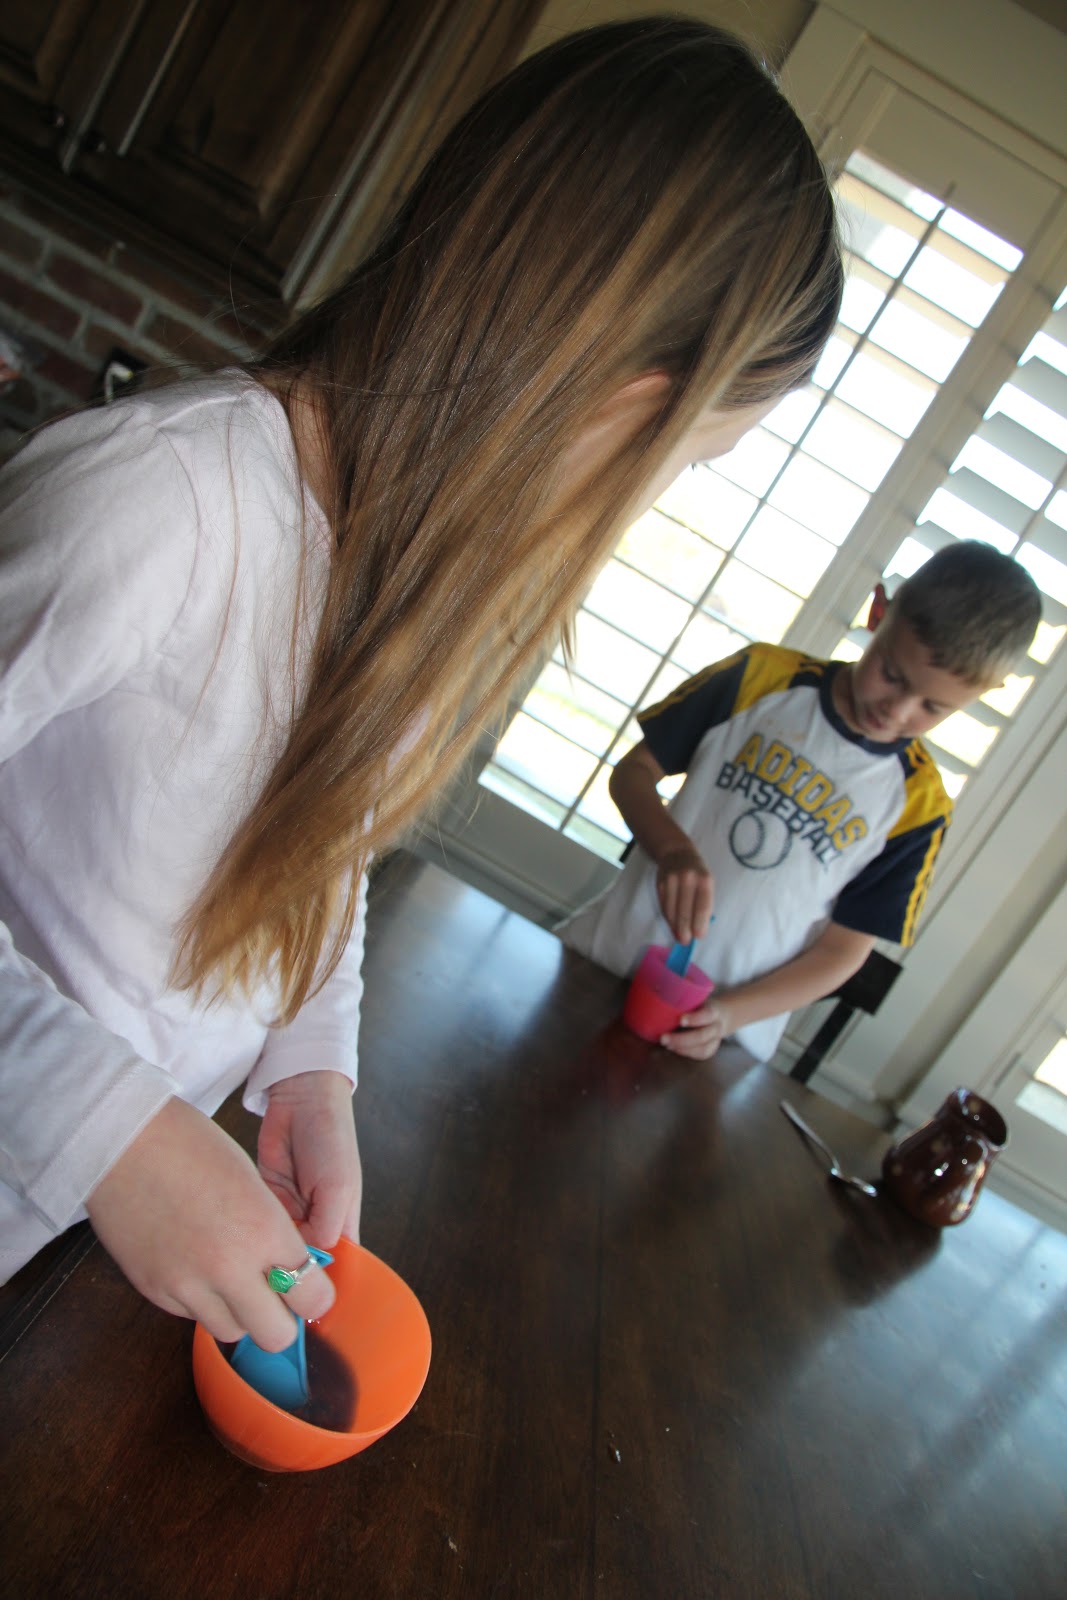
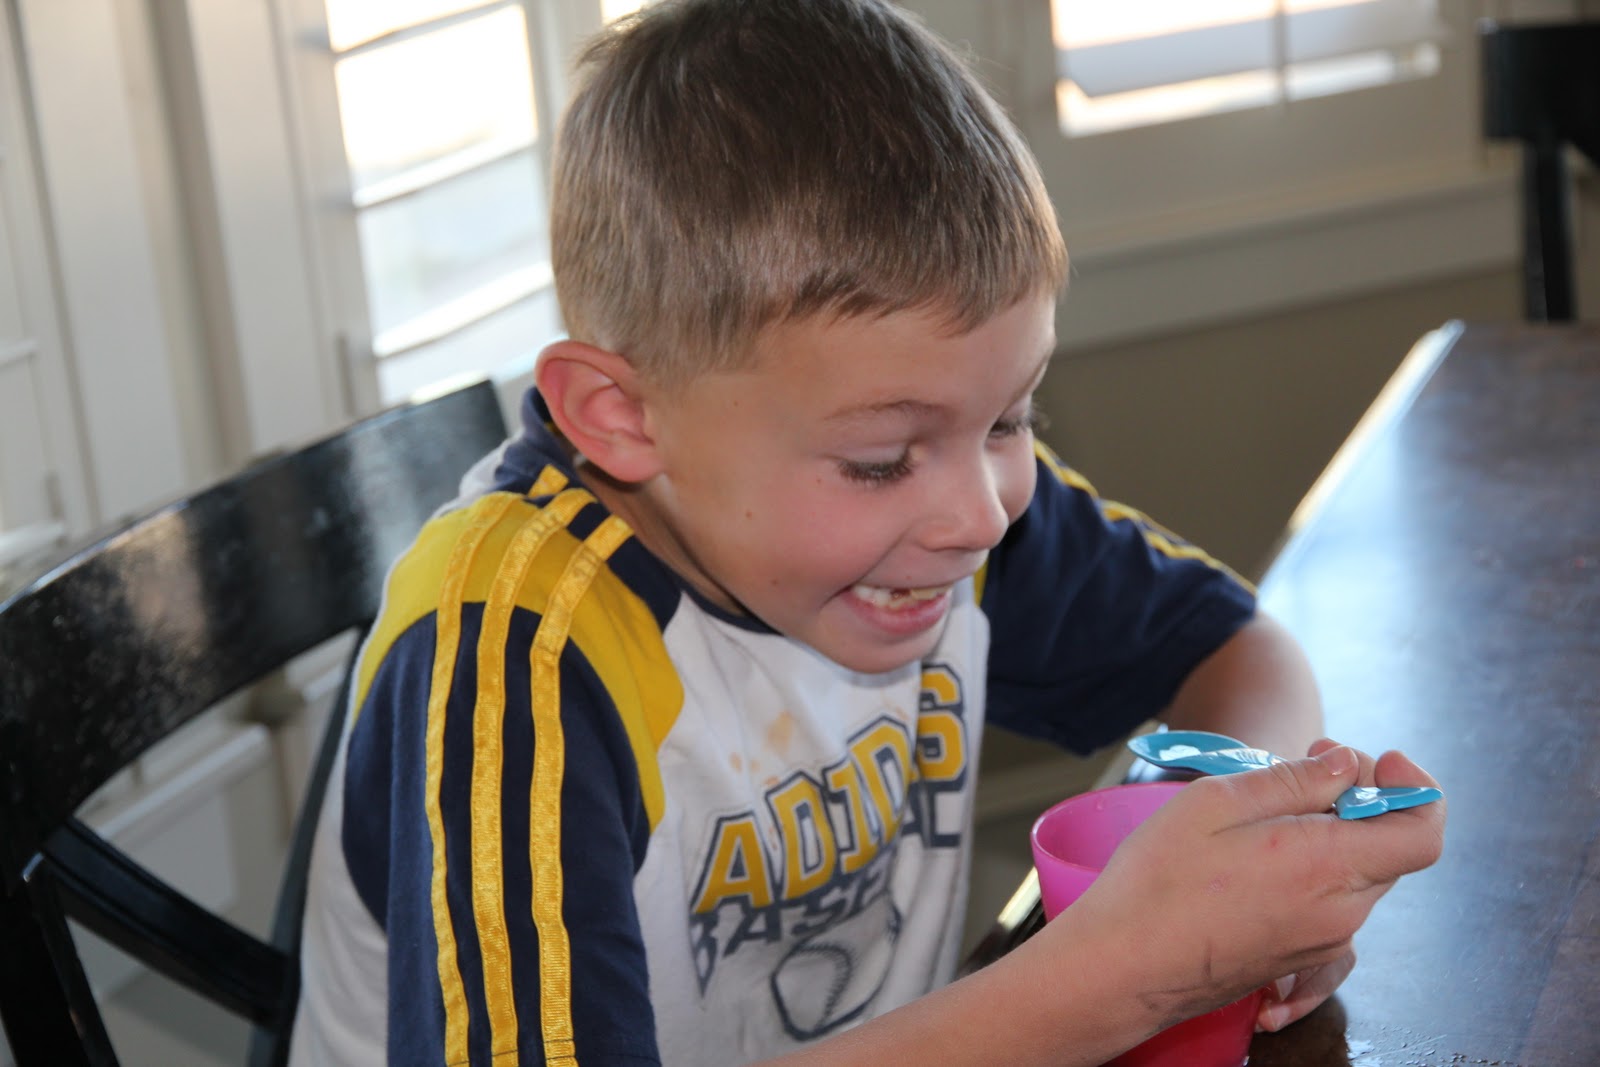
Then we mixed candy colors.
Yellow candies+Blue candies=
Red + Blue=
And finally, Yellow+Red=
A lot of the work we do is based on things I think Bubs should be learning or wants to learn. Welly is next. Wy-Wy enjoys tagging along for lessons and storytimes, but once in a while a lesson is more geared toward the littlest ones. That doesn't mean we can't all have fun, though. Who doesn't love acting like a toddler now and then?
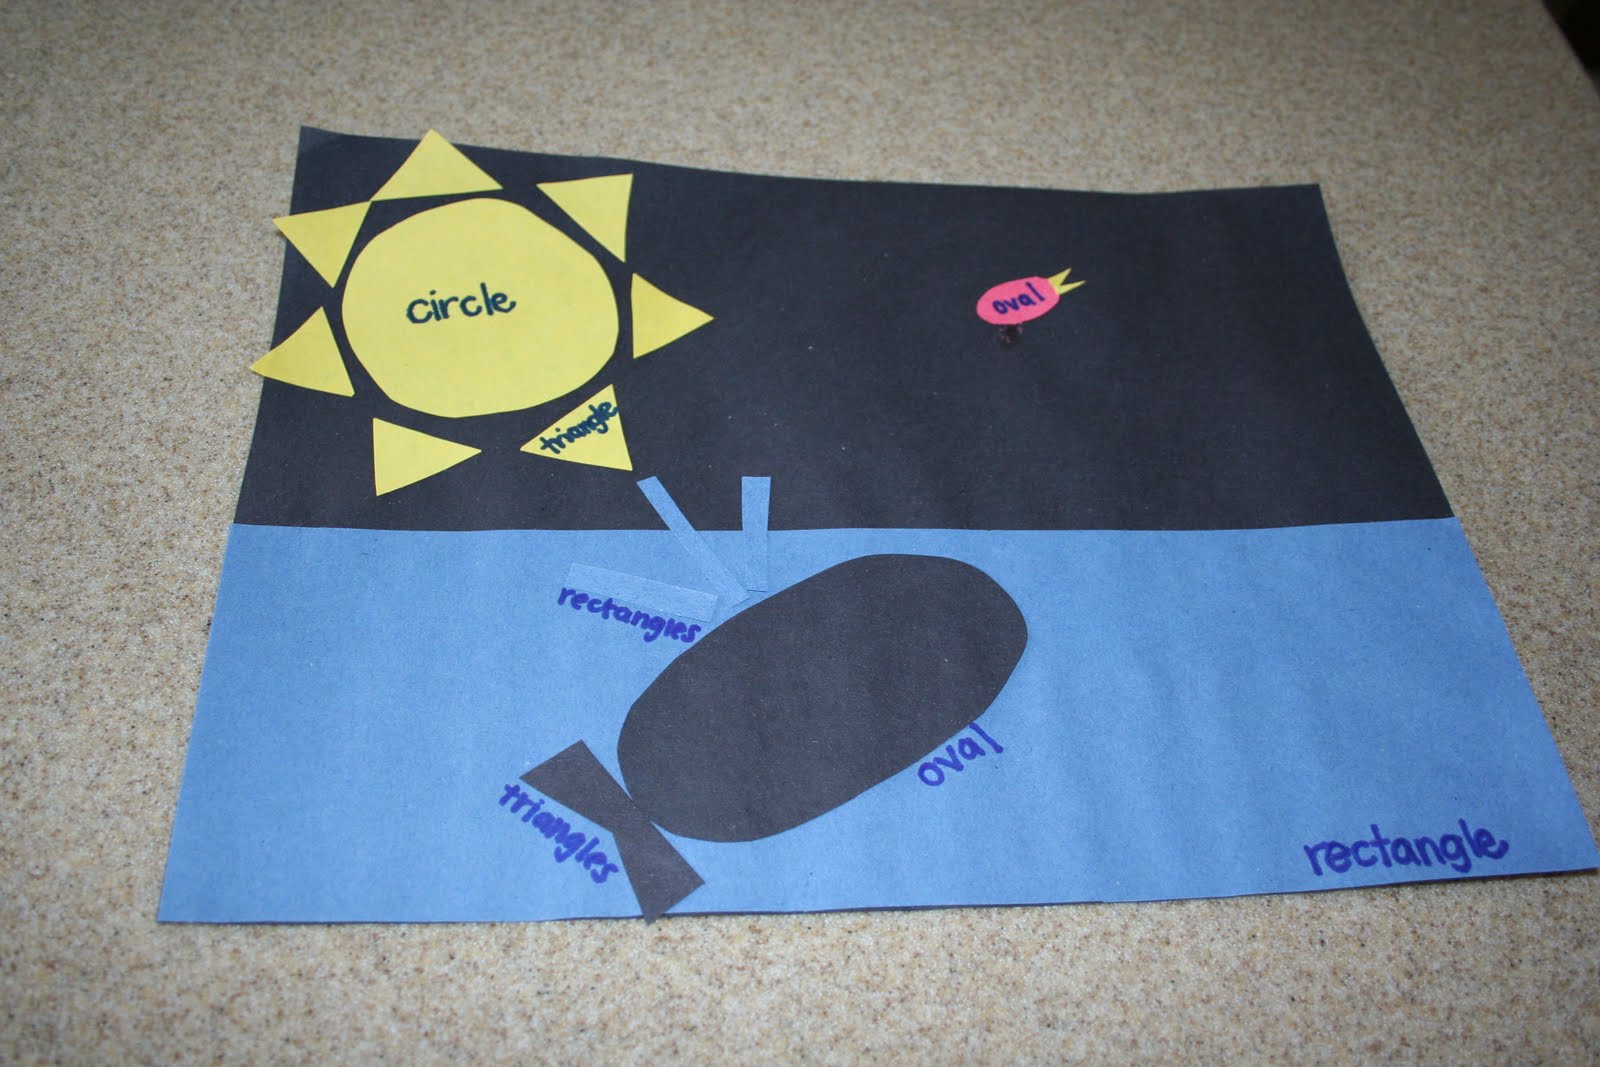
You've probably already figured out what we did for this simple mini lesson. We just drew basic shapes and identified them. Then we used our shapes to make pictures.
I also had Bubs draw lines on the shapes, making them symmetrical (as seen in the top picture).
Fun, simple, easy...and like usual, the kids kept working on their projects while I read aloud to them for a while.
Even the youngest of students can learn some basics about fractions with this mini lesson.
Orange Fractions
1. Peel an orange and separate it into two halves. Discuss how there are two parts of one whole orange, thus two halves make one whole.
2. Split the orange into four parts and discuss.
3. Separate all the orange pieces. Ours had twelve parts. Hold three pieces in your hand and ask, "How many parts do I have?" 3. "Out of how many?" 12. "3 parts out of twelve parts is 3/12." If kids are grasping the concept well, explain that 3/12 is the same as 1/4 of the orange.
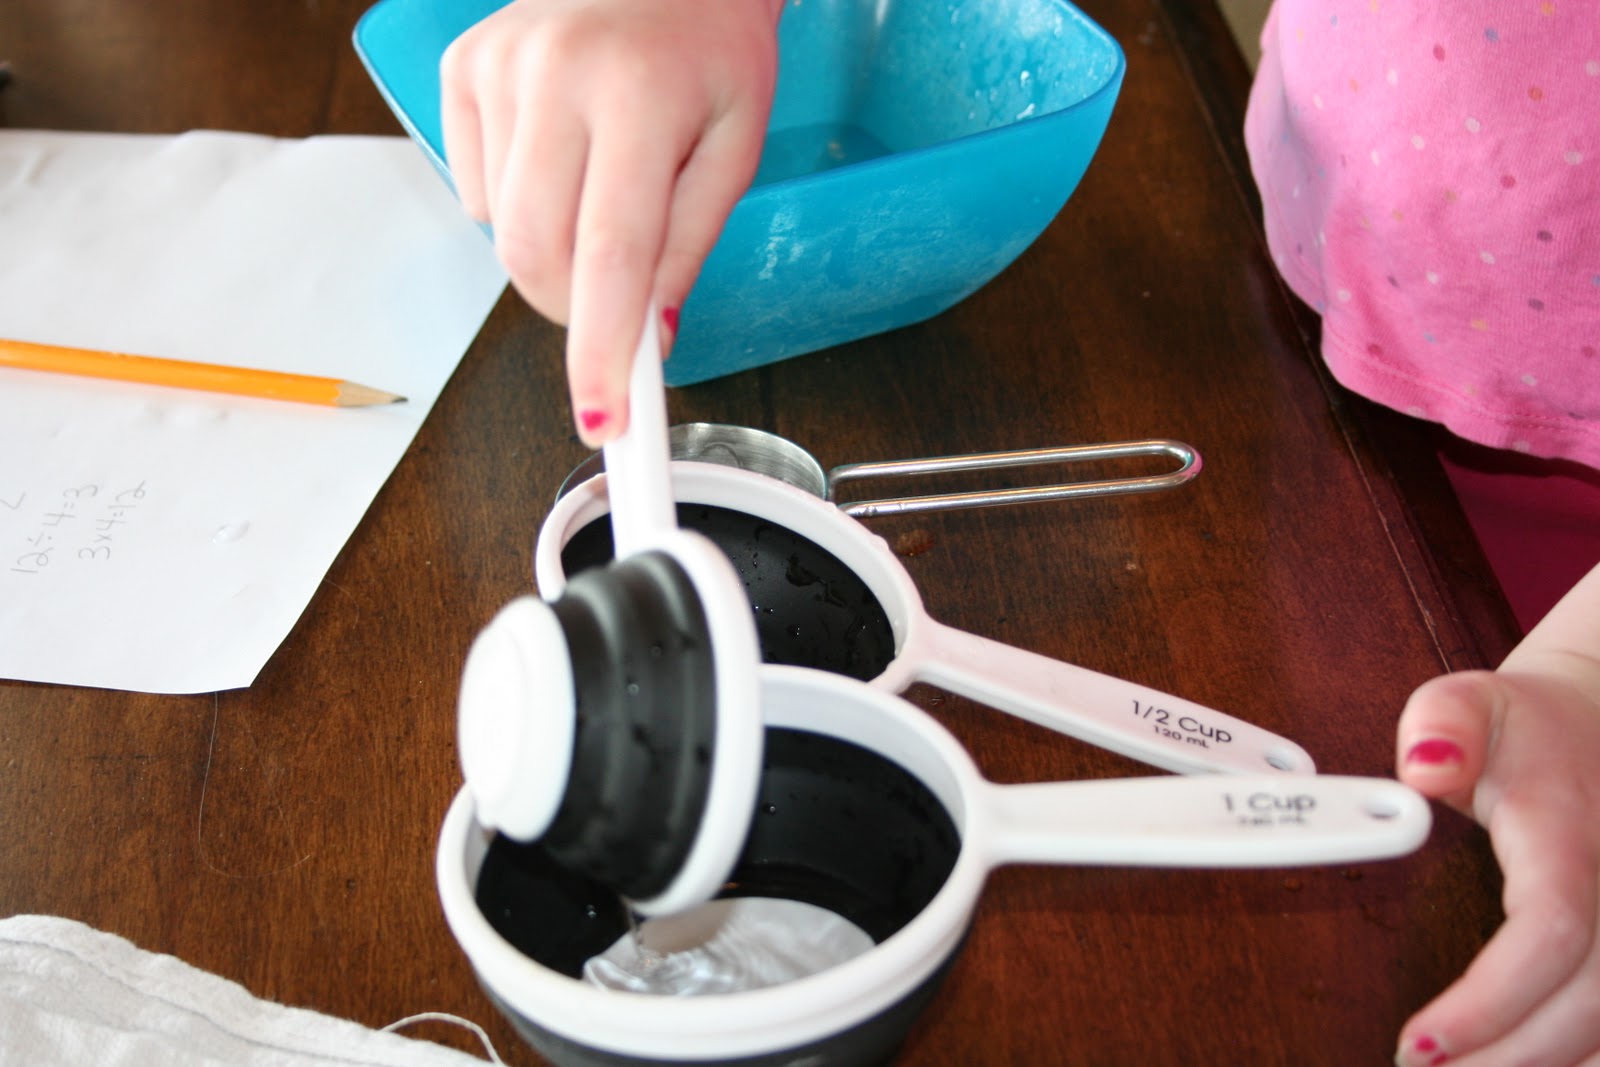
Liquid Fractions1. Fill a 1 C measuring cup with water or beans. If using water, you may want to put a cookie sheet underneath.
2. Allow kids to experiment with various measuring cups. Help them reach the discovery that 4 1/4 cups make 1 C and 3 1/3 cups make 1 C.
3. Explain why it works that way. Because 3 parts out of 3 make a whole, etc.
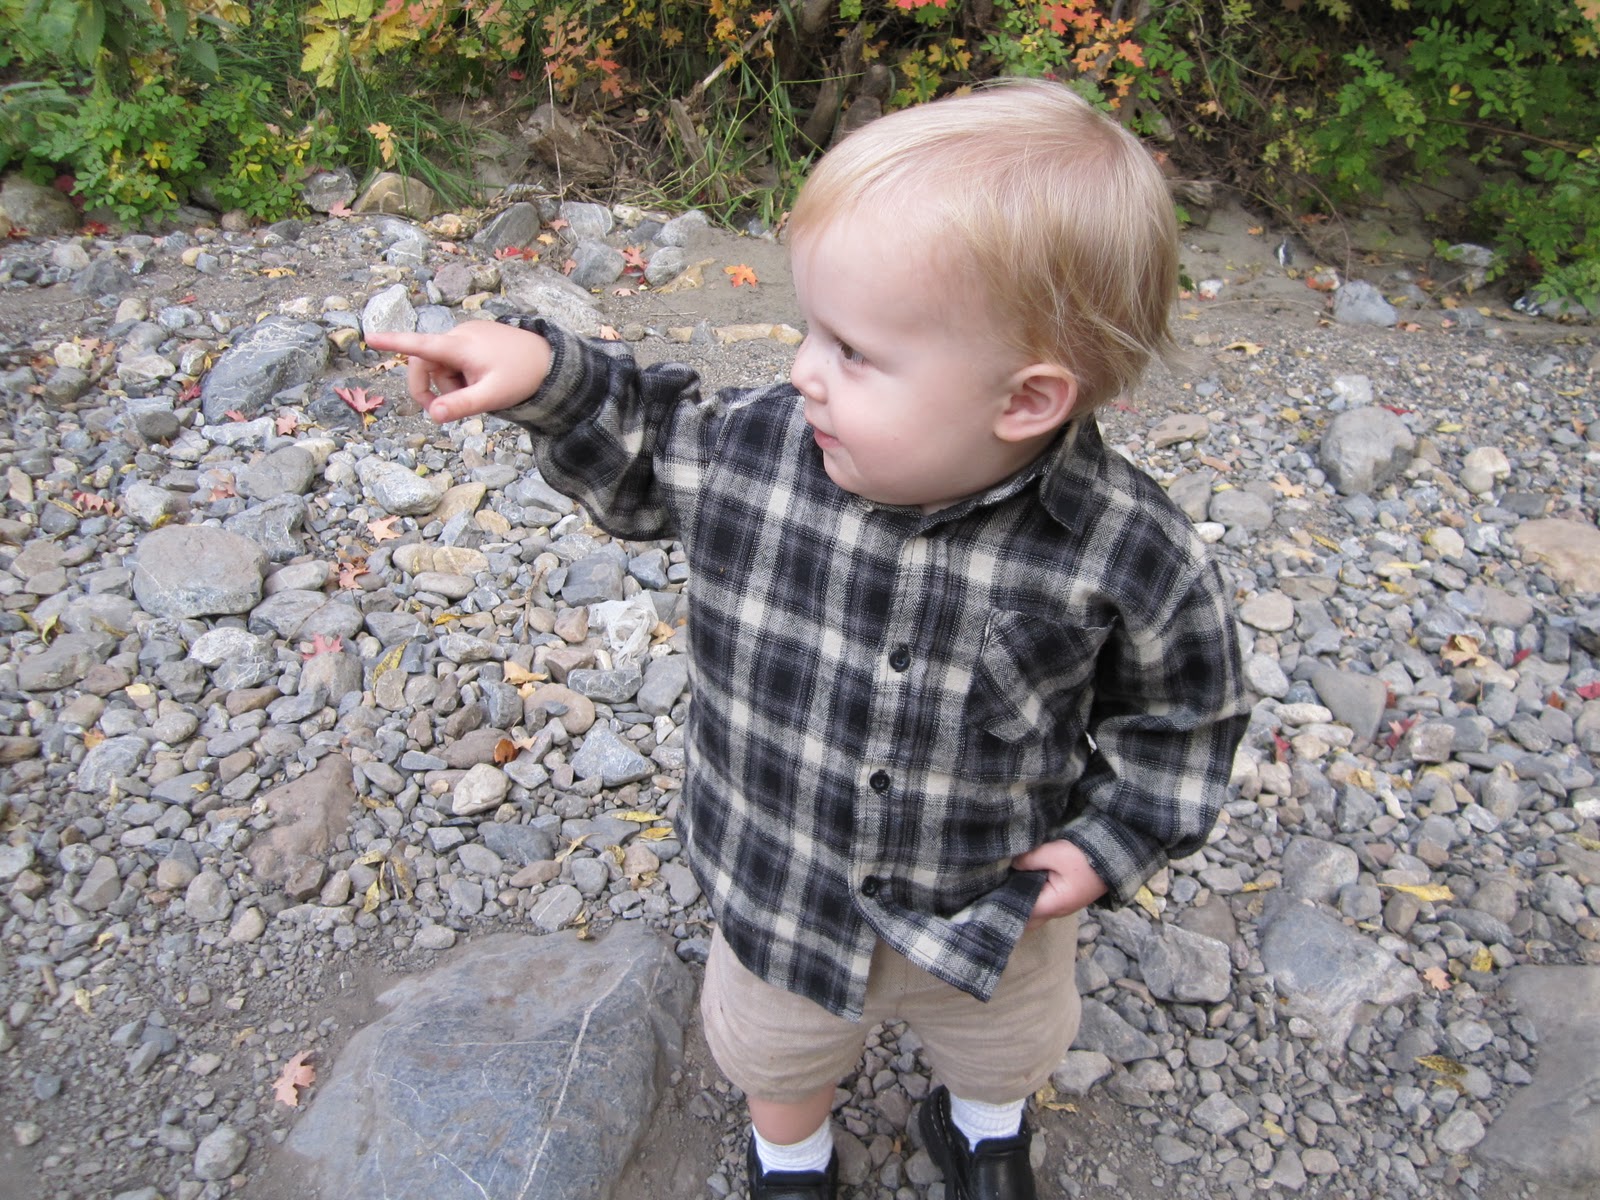
Here are two fun activities to help kids grasp the directions on a map.
1. When the days are warmer, we love to take walks through the neighborhood (and beyond). We take turns calling out North, South, East, and West. We go one direction until we come to an intersection or run into something. Then, the next person calls out a direction for us to go. This is a fun way for children to grasp directions around your home and the orientation of things. It also brings you to new places and adventures, where there's never been a reason to go before. We've also done this in the car.
2. Make a simple treasure map with white crayon on white paper. Don't forget to include an Orientation Key with the directions! Next to the lines, write 'Take 2 steps west, 5 steps north...' Include movement in all four directions. Have the kids color over the map with a colored highlighter to discover the map. (We tried water colors. That didn't really work. I found an article online that says to use highlighter.) Be sure to hide something at the end where X marks the spot. :)


 3 Comments on Unwanted Halloween Candy, last added: 11/2/2011


Emily your kids are darling, you worms are disgusting, and you candy idea is great. Mine are too little yet to get the idea but in a year or two we will so do that! We have WAY WAY WAY too much candy for the three of them to eat even in a year! Gosh!
K those jello worms look amazingly real, and I love all of your creative candy experiments. You are such a cute mom. Your kids look darling, and I can't wait for you to have your new baby...Hopefully we will get to see you one of these days:)
how fun! I'm going to do this too!