

 |
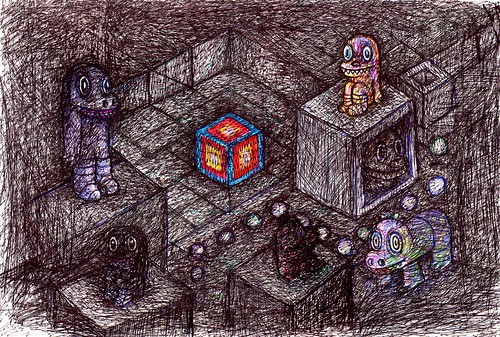
| ©2013 Dain Fagerholm |
10 x 15 in.
2013
0 Comments on Hexagonal-tiling system for isometric labyrinth game. ©2013 Dain Fagerholm as of 3/1/2013 5:34:00 PM
Add a Comment

.jpeg?picon=3281) By: Dain Fagerholm,
on 3/1/2013
By: Dain Fagerholm,
on 3/1/2013
|
| ©2013 Dain Fagerholm |
 By: Claire Louise Milne,
on 12/2/2008
By: Claire Louise Milne,
on 12/2/2008
 Our kitchen before tiling the backsplash: cleaned up and looking a bit bare
 Tools of the trade: trowel, pencil, tile adhesive
 Sorry for the crummy photos - it's a dark and gloomy day today
 After you spread on the adhesive, you drag the trowel over it at a 45 degree angle. What you are doing is making the adhesive all the same height. It's better to go a bit over the borders of where the tiles will be placed because you can clean up any excess adhesive with a damp cloth. If there weren't enough adhesive at the edges the tiles might not adhere properly.
 Then at this stage I used a long wide quilting ruler (choose whatever you like) to press on the tiles and make sure they were even. Some excess adhesive might squeeze out but it's easy to wipe up. Pay attention to the ones on the corners and make sure they're straight.
 Then I did it all over again in the kitchen. It's a bit brighter in there so you can see the colour better.
 Unfortunately I opened the box of tiles to start on the other side and discovered they were all dark smoky grey. So now I have to wait before finishing the kitchen...
By: Claire Louise Milne,
on 12/5/2007
Unfortunately I opened the box of tiles to start on the other side and discovered they were all dark smoky grey. So now I have to wait before finishing the kitchen...
By: Claire Louise Milne,
on 12/5/2007
 Things are really coming along now, the large kitchen and hall tiles are almost completely installed. There's just this last patch in the hall and 2nd closet to do. The tiles look white but they're actually very very pale grey with tiny matchstick lines of grey and white. They'll also look nicer once the grout is added. It's going to be a light grey so there won't be such dark lines between the tiles.
To the left you can see the bathroom is almost finished too. It doesn't look perfect, but I know it will once the grout is there. We've been visiting the house throughout the project and we can see that this job has been done with careful attention to detail, things we didn't even think about ourselves. Once we add the new baseboards, paint the walls and return the clawfoot tub and new vanity it's going to be really nice I think. Right now the pattern is a little hard on the eyes, mostly due to the dark lines between the tiles. They've also done more work on the walls where the tiles were removed and they're looking really good. I know once we prime we'll see places we have to touch up a bit here and there but that's easily done.
 So far so good...
Read the rest of this post
So far so good...
Read the rest of this post
I am very impressed! it looks awesome! well done!
i wanna see the grouting!
nice one - this looks so pretty...maybe I could tackle my own bathroom!
Love the tile, I wonder if my wall board is structually sound enough to try this. I might just have to wait until we finish the 2nd bath remodel (which started because cracked waste pipe and moldy carpet) before trying to do anything to the working bath.