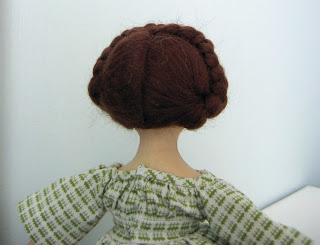
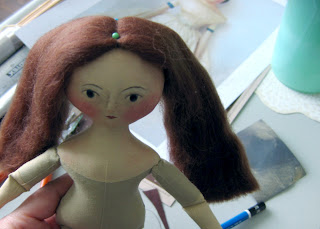
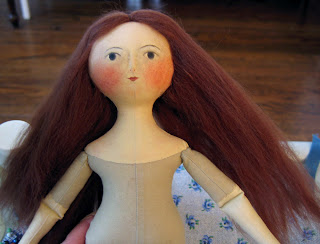
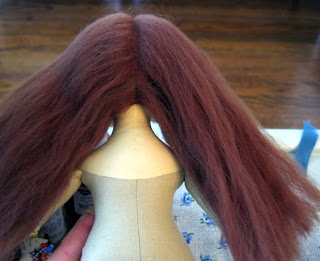
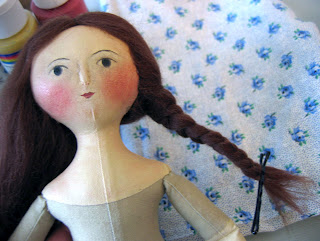
Posting again took longer than I expected, but since I did have one request I will show the progress pics of the hairdo for the Gail Wilson 3D doll.
First of all, please don't be afraid to start your kit! The best tip is to just start with the first step rather than overwhelming yourself trying to figure out the whole thing. And once it's done, go on to the next one. There are so many details in the instructions you will have lots of help.
Take your time, I did make mistakes myself and slowing down allowed me to fix them before it was too late. For example, I traced the body pattern pieces onto the fabric then realized when I got to the last pattern piece that I didn't have enough room. You really need to snug the pieces up to the edges of the piece of fabric (assuming you bought the kit with provided fabric) to fit them all in. The solution? I just turned over the folded piece of fabric and retraced them onto that side. No harm done.
So here's how I did the hair. I pinned the wool wig (wool has been machine sewn onto a bit of fabric at this stage) on her head to check the placement before gluing. Gail recommends a cool melt glue gun but I didn't have any trouble with my regular glue gun. If you're worried about burning your fingers my big tip is to just put a bandaid on the finger you use to press the hair into place.
Glue just a little bit at a time and make sure it's going where you want it to. The exact position of the hair kind of changes the shape of her face. If you glue it a bit high she will have a high forehead, etc.
To "comb" the hair I used a tiny knitting needle I had on hand - size 0000. I didn't want to buy a hair pick, and the needle worked just fine. You need to start combing low down or you will have big snags - if you've ever had long thick hair you know this!
Here's a view of the back. You want to make sure your wig is low enough at the back so she doesn't have a big bare area on her head. Another tip, I saved the fibre that was pulled out and combed it and made a wig for my tiny dollhouse doll.


I love this idea of using roving instead of yarn for the hair! This will totally revolutionize my doll-making.
hahaha this is the cutest!!